This guide explains how to create an FTP account so you or your developer can access your website files securely.
What is an FTP Account?
An FTP account allows access to your website files using an FTP client such as FileZilla, without sharing your main hosting login details.
Why Create a Separate FTP Account?
- Give access to developers without sharing your main login
- Limit access to specific folders
- Improve security
Step 1: Log into AdminBolt
Log into your AdminBolt Client Panel using your hosting credentials.
Step 2: Navigate to FTP Accounts
- Go to your hosting or website section
- Find FTP Accounts or FTP Access
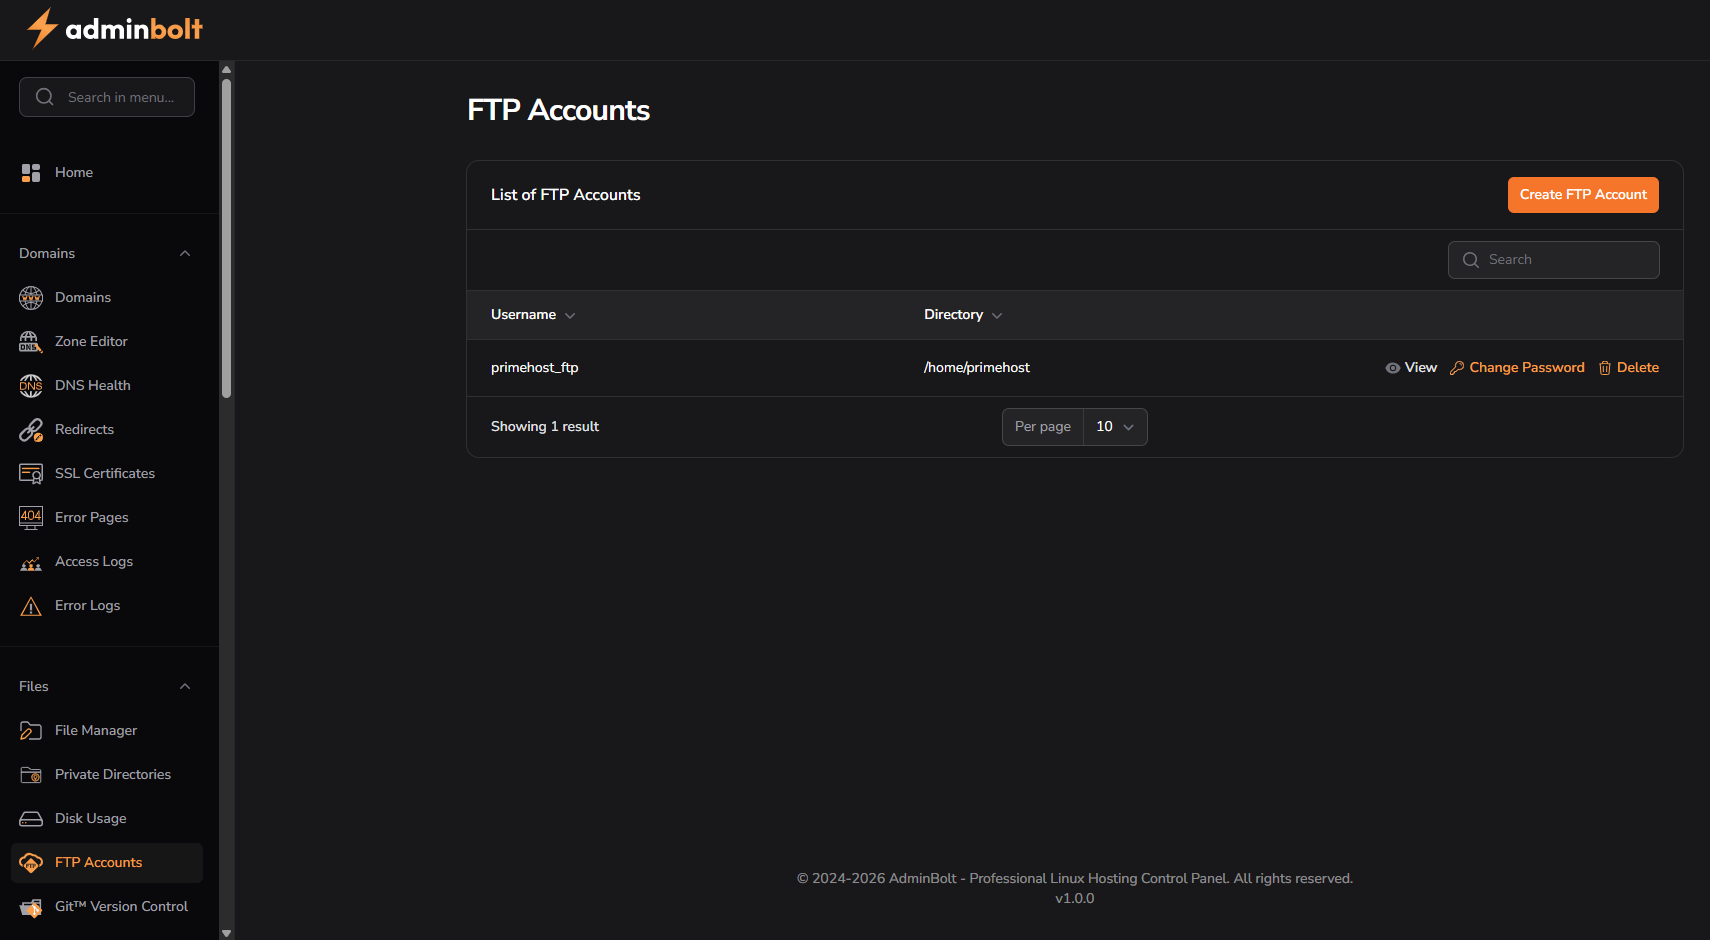
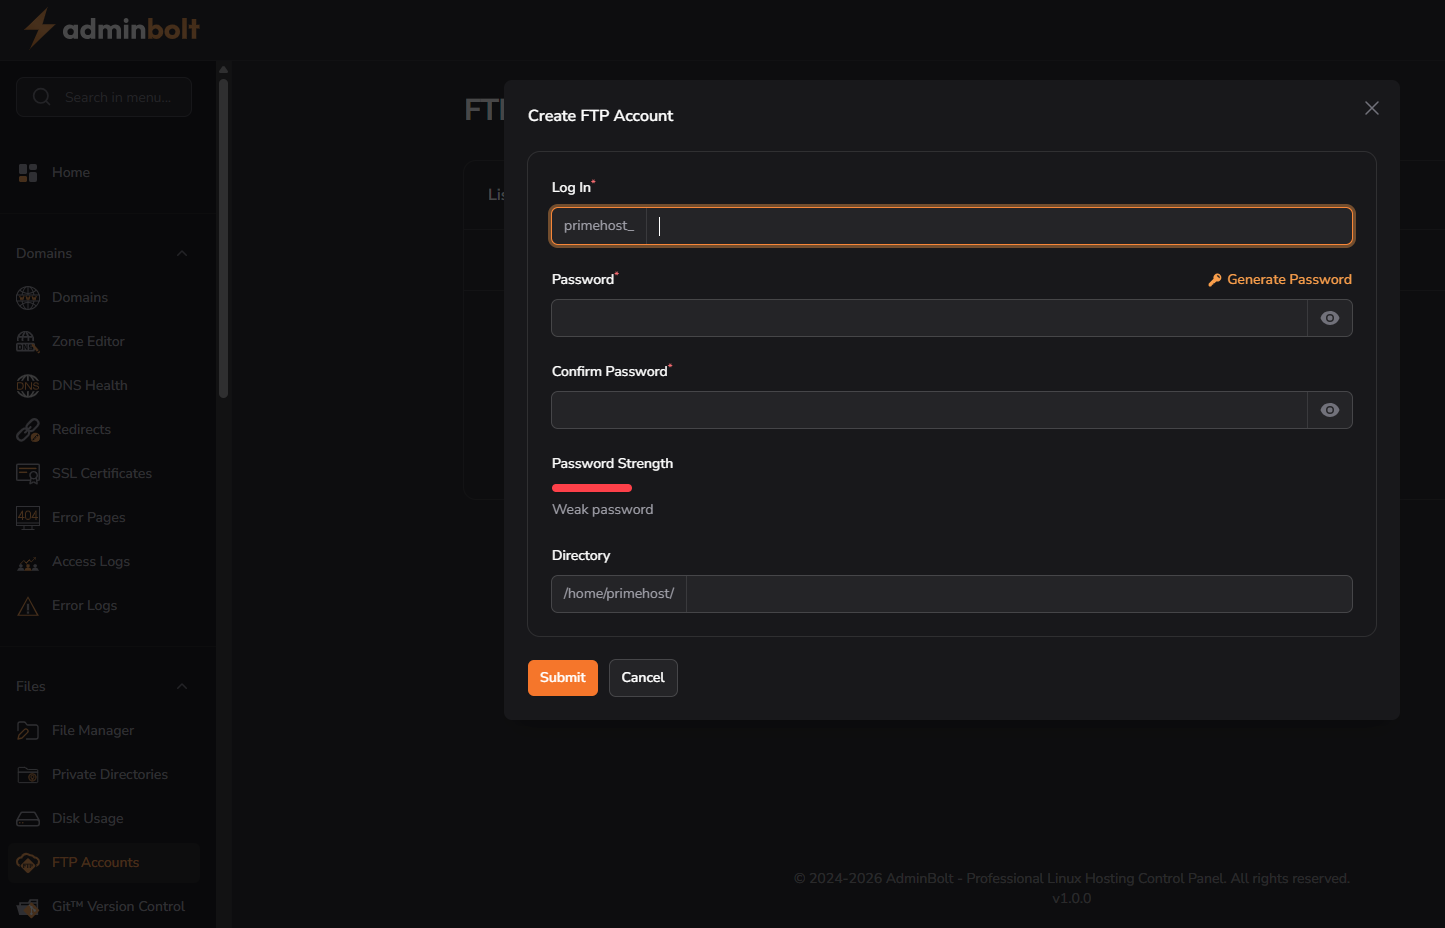
Step 3: Create a New FTP Account
- Click Create FTP Account
- Enter a username
- Enter a secure password
- Select the directory (optional)
- Click Create
Step 4: Use Your FTP Account
Once created, you can use these details in your FTP client:
- Host: your domain or server hostname
- Username: your FTP username
- Password: your chosen password
- Port: 21 (or as provided)
Optional: Restrict Access to a Folder
You can limit the FTP account to a specific folder, which is useful when giving access to developers.
Common Issues
FTP Login Not Working
- Check username and password
- Ensure the account was created successfully
- Try using your server hostname instead of your domain
Cannot See Files
- The account may be restricted to a specific folder
- Check the directory setting
Important Notes
- Always use strong passwords
- Delete FTP accounts when no longer needed
- Do not share your main hosting login details
More information:
AdminBolt Client Panel Documentation
