SitePad is a drag-and-drop website builder available through supported hosting control panels and Softaculous installations. It allows you to quickly create professional websites without needing coding knowledge.
This guide explains how to access SitePad, install it, and begin building your website on your Domain Central hosting account regardless of which supported hosting control panel you are using.
What is SitePad?
SitePad is a visual website builder that includes:
- Drag-and-drop website editing
- Pre-made templates and themes
- Mobile responsive layouts
- Image galleries and sliders
- Contact forms and widgets
- Blog functionality
It is ideal for:
- Business websites
- Personal websites
- Landing pages
- Portfolio websites
- Small online stores
Step 1: Log in to Your Hosting Control Panel
- Log in to your Domain Central hosting account.
- Open your hosting control panel.
- Locate either the Softaculous Apps Installer or SitePad Website Builder option.
- Open the SitePad installer.
Step 2: Open SitePad
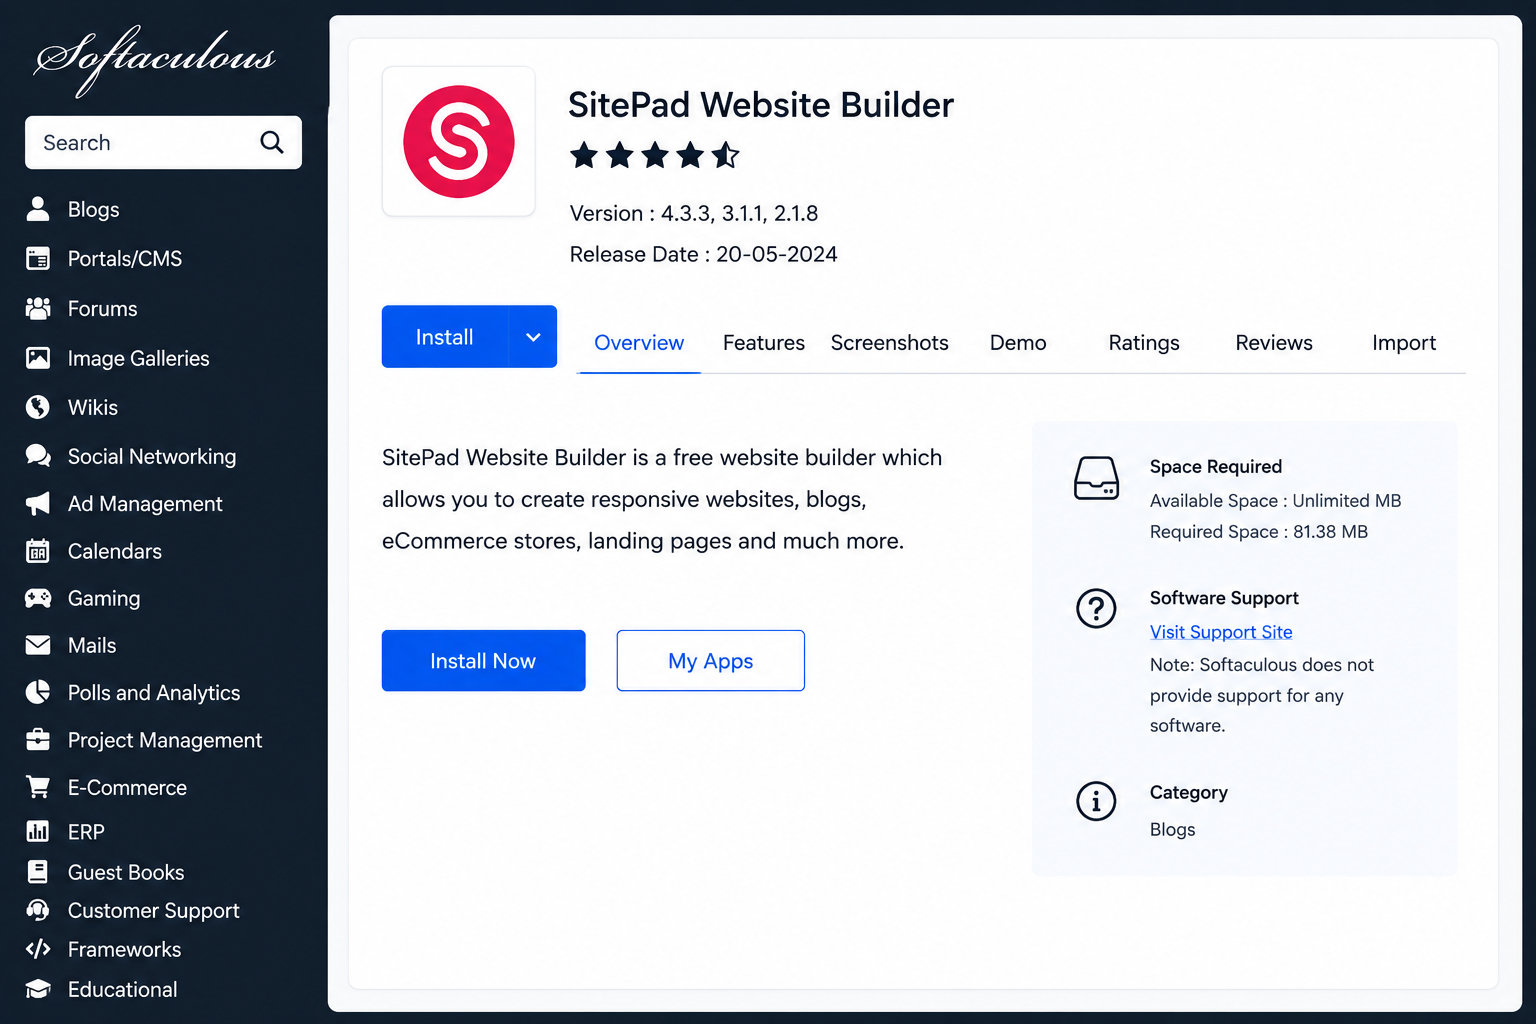
- Inside Softaculous, search for SitePad.
- Click the SitePad Website Builder icon.
- Click the Install button.
Step 3: Configure Your Website Installation
After clicking the Install button, you will be asked to configure your new website installation.
You will normally need to complete the following fields:
- Choose Domain – Select the domain name you want to use.
- In Directory – Leave this blank to install the website on your main domain.
- Site Name – Enter your business or website name.
- Site Description – Optional short description of your website.
Once the details have been entered, click:
Install
Step 4: Launch SitePad
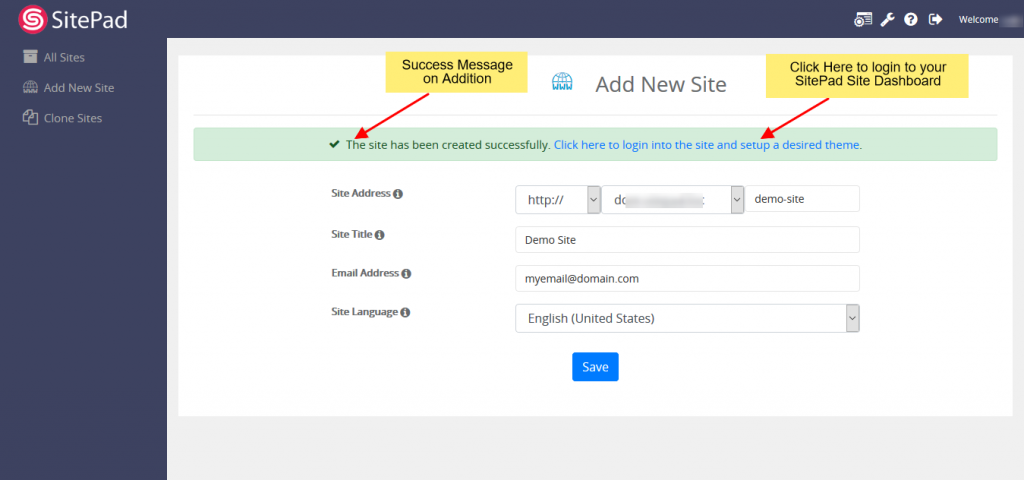
Once the installation has completed successfully, SitePad will display a success screen with login and management options.
Click:
Login to SitePad
or:
Edit Site
to open the SitePad website builder dashboard.
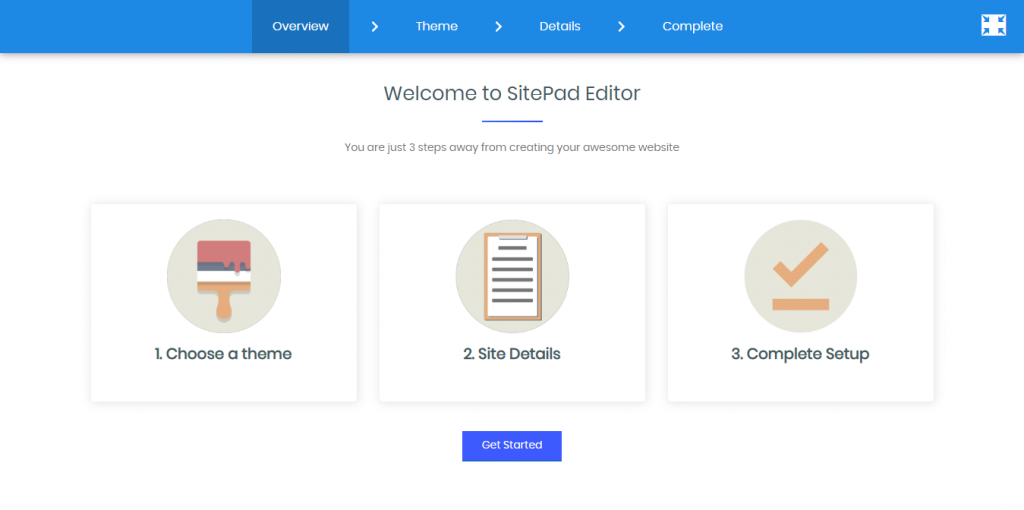
Step 5: Choose a Website Template
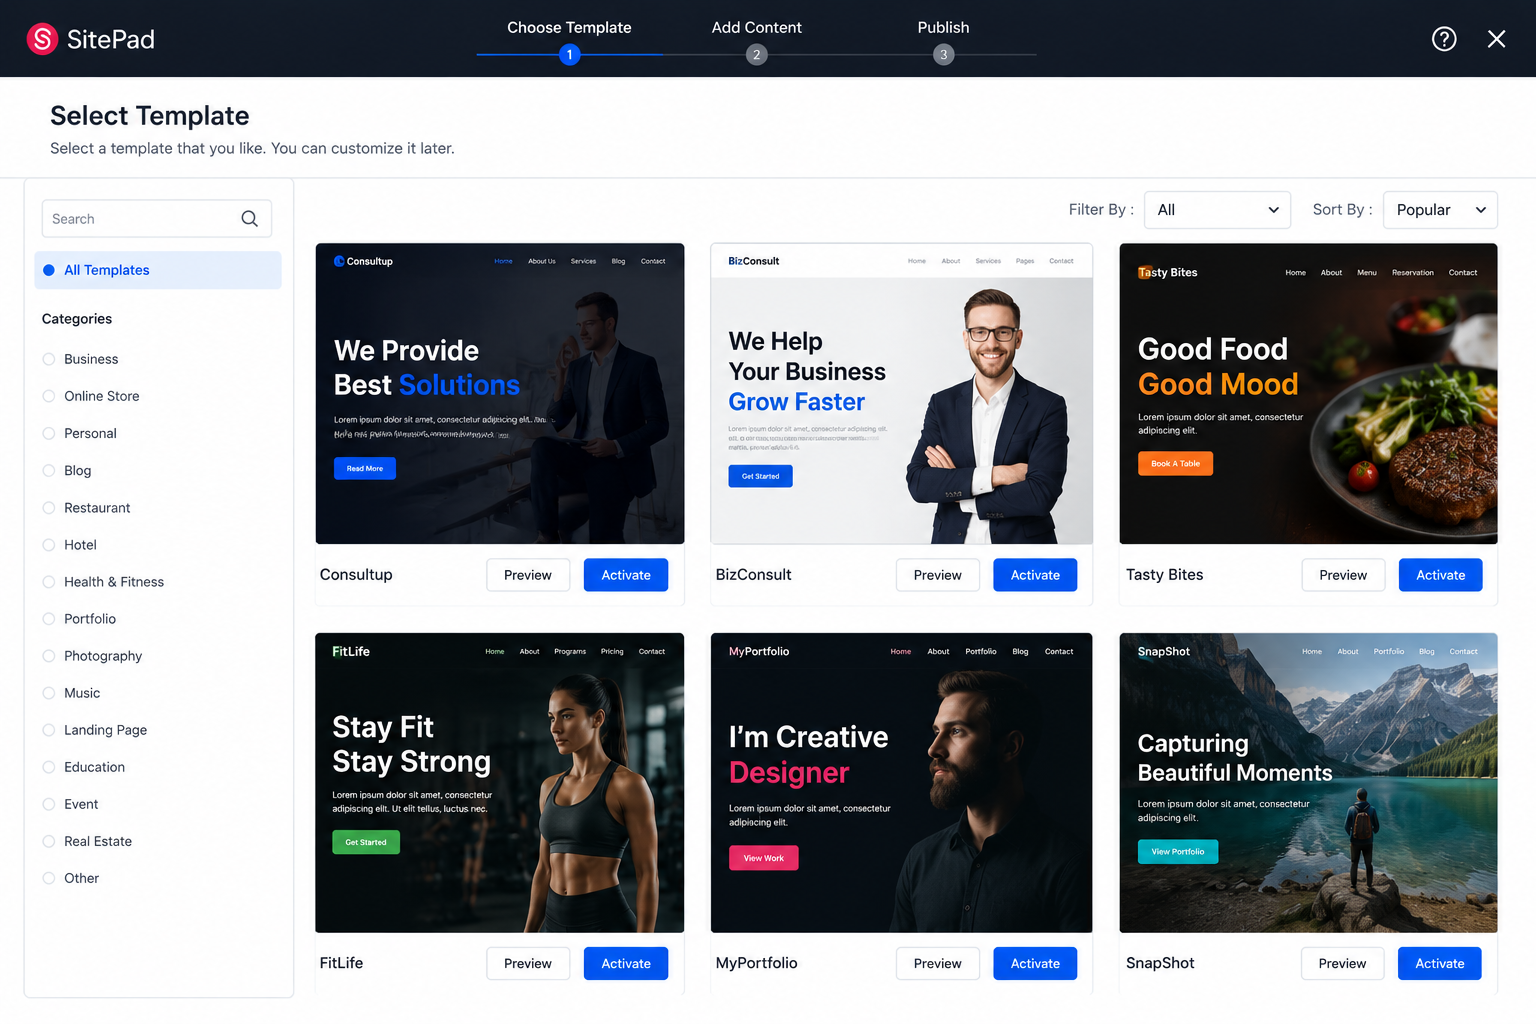
When SitePad opens for the first time, you can select a website template or theme.
Templates provide a professionally designed starting point for your website and can later be customised to suit your business or project.
SitePad includes templates suitable for:
- Business websites
- Personal websites
- Landing pages
- Online stores
- Portfolios
- Blogs
Browse the available templates and click Activate on the design you wish to use.
Step 6: Start Building Your Website
You can now begin customising your website using the SitePad drag-and-drop editor.
Within the editor you can:
- Edit text and images
- Add new pages
- Insert contact forms
- Upload your own photos and logos
- Change colours and fonts
- Add galleries, sliders and buttons
- Preview your website before publishing
Simply click on elements within the page to edit them.
Changes can normally be saved or published using the Save or Publish buttons within the editor.
